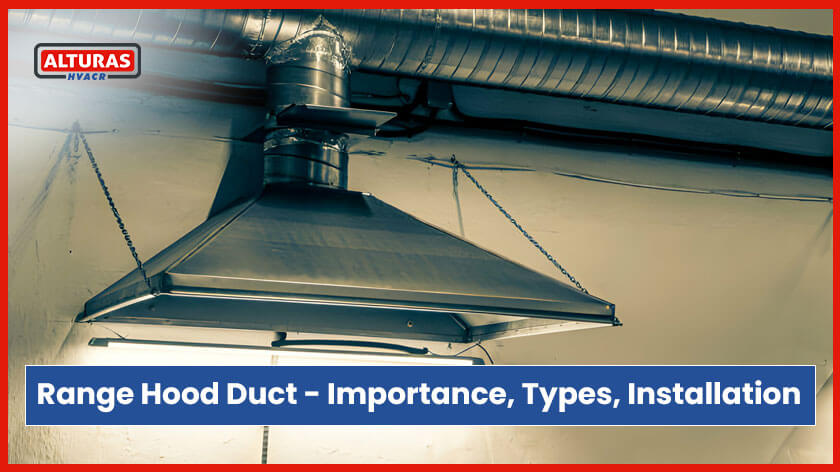
When it comes to installing your kitchen’s ventilation hood, the ducting system takes center stage. Acting as the enclosed space above your cooker hood unit, its primary function is to collect and eliminate smoke, fumes, and steam produced during cooking. A well-installed range hood duct significantly improves air quality and circulation in your kitchen.
Importance of Proper Installation:
Installing the right kitchen vent hood is crucial for optimal functionality and benefits. The correct kitchen hood installation Los Angeles process ensures the effective collection of smoke, fumes, and steam, leaving your kitchen with higher air quality. In this guide, we’ll take you through the step-by-step installation procedure for your kitchen’s ventilation hood.
Materials Required for Range Hood Duct Installation:
Before diving into the installation process, gather the following materials and equipment:
- Silicone for sealing around joining parts
- Roto zip saw for drilling holes in the wall
- Cordless drill for drilling holes in walls or ceiling
- Measuring tape for providing measurements on ductwork and cooker hood unit locations
- Square adaptor for using other driving tools
- Screws for securing appliances on walls
- Ducting unit
Step-by-Step Range Hood Duct Installation Guide:
Step 1: Choose the Appropriate Location
Select a location free from obstacles like big studs or electrical wiring. The chosen area should offer the shortest path to the kitchen’s exterior without any obstructions.
Step 2: Take Accurate Measurements
Use a tape measure to determine the duct opening size on top of the kitchen range hood. Measure carefully, considering variations in wall connections (rectangles or rounds) and using a square adaptor when needed.
Step 3: Attach the Adaptor
After accurate measurements, attach the adaptor to the extractor fan’s top, ensuring it’s the correct one. Use a cordless drill and sheet metal screws to secure the adaptor in place.
Step 4: Place the Wall Outlet Template
Position a wall outlet template on the exterior wall, mark it accurately, and cut the hole using a roto zip saw. This hole should pass from the interior to the exterior of the wall.
Step 5: Install the Vent Outlet Cover
Install the vent outlet cover from outside the kitchen using a screwdriver and drywall screws. Ensure a proper seal with silicone to prevent reduced airflow and duct leaks.
Step 6: Place the Hood Unit on the Wall
Join the vent outlet cover and ducting system, then carefully lift and place the range hood on the wall. Enlist help for this step, as the hood unit might be heavy.
Step 7: Mount the Fume Extractor Fan
Attach sheet-metal screws through the fan’s back and mount the fan using screws through the mounting holes. Test the light and fan, ensuring proper ventilation and air circulation.
Step 8: Install a Damper
Install a damper on the outside top of the duct to keep debris away and prevent back drafting, ensuring efficient and safe kitchen air circulation.
Range Hood Duct Size Considerations:
When it comes to range hood installation, understanding the importance of the duct size for your range hood is crucial for optimal performance. Proper range hood ventilation ensures that cooking odors, smoke, and excess moisture are effectively removed from your kitchen, contributing to a healthier indoor environment. The minimum duct size often depends on the cubic feet per minute (CFM) rating of your range hood. Higher CFM ratings typically require larger ducts to maintain efficient airflow.
How to Measure Duct for Range Hood Size:
- 0-400 CFM: Minimum duct size of 4”, recommended duct size of 6”
- 401-600 CFM: Minimum duct size of 6”, recommended duct size of 8”
- 601-900 CFM: Minimum duct size of 7”, recommended duct size of 8”-10”
- 901-1200 CFM: Minimum duct size of 8”, recommended duct size of 10”-12”
- 1200+ CFM: Minimum 10” diameter duct, recommended duct size of 12”
Duct Length Considerations:
In addition to duct size, the length of your ductwork is crucial. A shorter duct run is safer, requiring less velocity to expel air. Fewer elbows also enhance efficiency, and it’s recommended not to exceed 30 feet for the duct run.
Cleaning Your Range Hood Duct:
Materials Required for Cleaning:
- Damp cloth
- Paper towels
Cleaning solution (glass cleaner, acetone, or Soft Scrub)
- Cleaning Process:
- Remove the baffle filters.
- Soak a cloth with a small amount of water.
- Apply the cleaning solution to the cloth.
- Wipe the inside of the hood in the direction of the grain.
- Place the filters back in your hood.
Best Type of Duct for Range Hood:
Always opt for rigid duct for ducted range hoods, offering durability and efficient airflow. It surpasses flexible ducts in quality and longevity.
- Ducted vs. Ductless Hood Systems: Homeowners need to decide whether a range hood vents outside or not. Ducted systems offer superior performance in terms of airflow and pollutant removal, while ductless systems pass air through filters before returning it to the kitchen.
- Calculating CFM Requirements: CFM (cubic feet per minute) indicates how much air a range hood can pull out of your kitchen. To choose the right CFM, consider factors like stove size, types of food cooked, and kitchen layout.
- Matching Duct Size to Range Hood: Choose a range hood vent tube that matches the size of your range hood outlet. Measure the hole where the smoke goes out and pick a vent tube of the same size, considering any corners or turns in the path.
Venting Your Range Hood:
Vent your hood outside your home through the ceiling or wall to eliminate smoke and cooking exhaust effectively. Range hood ducts can be routed through various pathways, including through the wall, ceiling, or roof/cabinet, each with its advantages.
- Through the Wall:
- Through the Ceiling:
- Through the Roof/Cabinet:
Insulating Your Vent Hood Duct:
While not mandatory, insulating your duct helps reduce blower noise and prevents leaks of smoke and greasy air into joints and the attic.
Using Flexible Duct For Range Hood:
Using a flexible duct for a range hood is generally not recommended, as it may compromise the hood’s performance and safety.
Choosing the Right Duct Material:
Rigid duct, particularly made of stainless steel, stands out as the superior choice for venting range hoods. It requires minimal maintenance and ensures optimal performance.
Professional Installation vs. DIY:
While attempting DIY installation is an option, hiring a professional for complex setups is recommended. Professional installers can ensure proper sizing, placement, and sealing of ducts, preventing potential issues.
Upgrading Your Duct System:
Consider upgrading ducts for improved airflow and energy efficiency. Consult with experts to determine the best size and explore options like adding dampers or insulation.
Common Mistakes to Avoid:
Avoid improper sizing, inadequate sealing, and neglecting regular maintenance to ensure the effectiveness and safety of your range hood duct system.
- Incorrect Sizing: Choosing a duct size that is too small, restricting airflow. Follow manufacturer guidelines and calculate the appropriate duct size.
- Inadequate Sealing: Neglecting proper sealing, leading to air leaks. Use quality sealing materials for tight connections at all joints.
- Neglecting Maintenance: Failing to clean and maintain ducts, causing reduced efficiency. Establish a regular maintenance schedule for cleaning and inspections.
- Improper Use of Flexible Ducts: Using flexible ducts when rigid ones are more suitable. Opt for rigid ducts, especially in long or complex duct runs.
- Ignoring Building Codes: Disregarding local building codes and ventilation standards. Familiarize yourself with and strictly adhere to local regulations.
- Improper Venting: Venting improperly, leads to moisture issues and compromised air quality. Direct vented air outside through recommended venting options.
- Incorrect Duct Length: Exceeding recommended maximum duct length, reducing efficiency. Stay within the recommended duct length limits and minimize bends for optimal performance.
Conclusion:
It’s important to note that duct length and bends can impact the efficiency of your ventilation system. Therefore, always refer to the CFM rating of your range hood and follow local building codes to ensure your installation meets safety and performance standards. By properly sizing and installing your ductwork, you can enhance the overall effectiveness of your kitchen’s ventilation system and maintain a clean, comfortable cooking environment.
Range hood ducting is essential for ventilation systems, often using stainless steel ducts for durability. Choosing the right duct size is crucial, with options like flexible ducting or more rigid steel ducts, to ensure efficient airflow in various setups. High-quality hood ducting, especially in stainless steel, enhances the performance and longevity of the system.
Range Hood Duct Size FAQs:
How do you measure a duct for a range hood?
Measure the exhaust outlet size and length to choose the right-sized duct for your range hood.
What is the minimum duct size for a range hood?
Choose a duct size that is the same as or bigger than the exhaust hole on the hood for optimal airflow.
Can I use a periscope duct for my vent hood?
Periscope ducts can be used for some stove hood setups, ensuring compatibility with your hood and venting needs.
What is the maximum duct length for the range hood?
Check manufacturer recommendations and local building rules to determine the maximum allowed length for your vent tube setup.
Can I use an aluminum duct for the range hood?
Aluminum is a suitable material for vent pipes; consult with a professional to choose the right size and thickness.
Can you expand an existing kitchen hood system?
Consult with an HVAC expert to assess the possibility of expanding your kitchen hood system, ensuring proper duct and vent adjustments.

