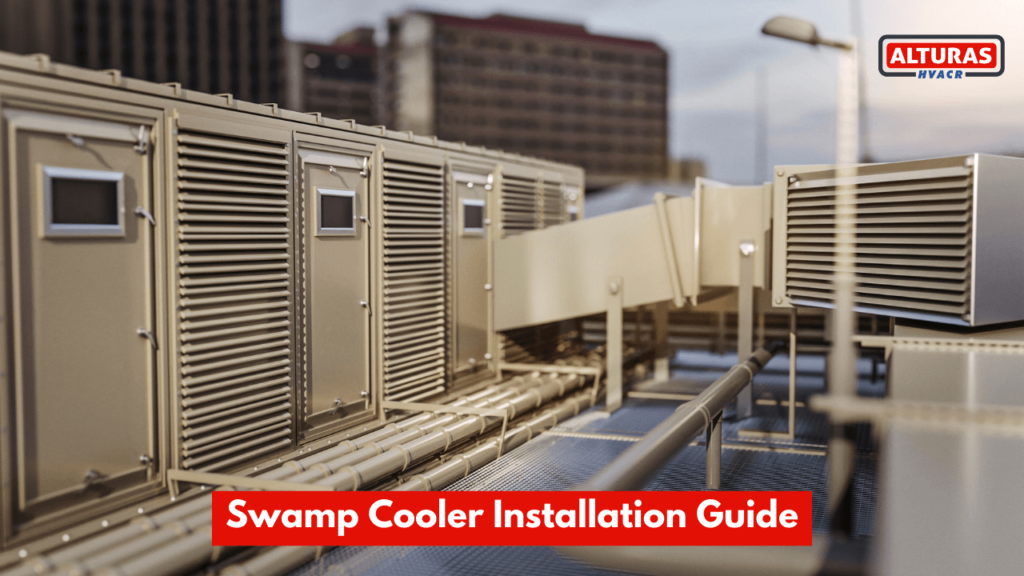
Swamp coolers are an energy-efficient and cost-effective alternative to traditional cooling systems, especially in dry climates. It uses evaporation to cool the air. Setting up a swamp cooler is a bit harder than an air conditioner. This is because it needs water. Some swamp coolers can be filled by hand. Others need a water line connected. Once you have the water source ready, the rest is easy. This is your step-by-step swamp cooler installation guide. Keep reading to find the details of the installation process.
What Are Swamp Coolers?
Swamp coolers work in a different way than regular air conditioners. They cool the air by using water. Hot air passes through wet pads. The water in the pads turns into vapor. This vapor absorbs heat from the air. The cooled air then circulates in your home. Swamp coolers are cheaper than normal air conditioners. They don’t use refrigerants like regular air conditioners do. Swamp coolers provide a refreshing, comfortable environment in your home.
Dig Deeper: Types of Swamp Coolers
Key Benefits of Swamp Coolers:
- Energy Efficiency: Swamp coolers use way less energy than regular air conditioners. This helps to cut down on high electricity bills.
- Cost-Effective: They typically cost less money to buy and install compared to air conditioning units.
- Improved Air Quality: Unlike AC units that recirculate inside air, swamp coolers bring in fresh outdoor air. This makes for better breathing indoors.
- Environmentally Friendly: Since swamp coolers consume much less power, they create a smaller environmental footprint
However, it’s important to note that swamp coolers are most effective in dry climates with low humidity levels. In areas with high humidity, the cooling effect is diminished.
Parts of a Swamp Cooler
Before diving into the installation process, let’s familiarize ourselves with the key components of a swamp cooler:
- Water Reservoir: This part holds the water that will be used for evaporation. It stores the water for the cooling process.
- Pump: The pump takes water from the reservoir. It spreads the water evenly over the cooling pads.
- Cooling Pads: These very absorbent pads are made of cellulose or aspen wood. They are constantly soaked with water.
- Fan: A powerful fan pulls hot, dry air through the wet cooling pads. The air passes through the moist pads.
- Air Outlet: The cooled air comes out through this opening. It gets circulated throughout your home.
- Ductwork (Optional): In some setups, ducts are used. They direct the cool air to specific rooms.
- Controls: The control panel lets you change settings. You can adjust the fan speed and water flow.
Tools Required for Swamp Cooler Installation
Installing a swamp cooler (also known as an evaporative cooler) involves several steps and requires a variety of tools. Here is a list of the tools you will typically need for the installation:
Basic Tools
- Screwdrivers (Phillips and flathead)
- Pliers (needle-nose and regular)
- Wrenches (adjustable and specific sizes)
- Drill and drill bits
- Hammer
- Level
- Tape measure
- Utility knife
- Caulking gun
- Marker or pencil
Electrical Tools
- Wire strippers
- Voltage tester
- Electrical tape
- Wire nuts/connectors
Plumbing Tools
- Pipe cutter
- Teflon tape
- Adjustable wrench (for water line connections)
Safety Equipment
- Gloves
- Safety glasses
- Dust mask (if needed)
- Ladder or step stool
Materials
- Mounting hardware (brackets, screws, bolts)
- Duct tape or foil tape
- Silicone sealant or caulk
- Water line (copper or plastic tubing)
- Electrical wiring and connectors
- Swamp cooler pad replacements (if needed)
- Water distribution tubing and fittings
Swamp Cooler Installation Process – DIY Installation
People should know how swamp coolers function before installing one. This guide gives a general idea, but it’s important to follow the maker’s instructions for the specific model.
For safety, turn off the electrical power to the circuit that will power the cooler before starting any installation work.
Here’s a breakdown of the installation process:
1. Choosing the Right Location:
- Roof Placement: Swamp coolers are usually put on flat roofs. Make sure the area is strong enough to hold its weight.
- Accessibility: It needs to be easy to get to for filling water and changing cooling pads.
- Airflow: Air needs to flow freely into and out of the cooler. Do not put it near walls or vents that block air movement. The cool air should spread well through your home.
2. Roof Cut-Out and Duct Installation (if applicable):
- Get a level tool. Look at the maker’s guide. With care, make a mark for a hole in the roof. The hole is for the air cooler’s pipe.
- Put in the pipes for airflow. Make sure the pipes link tightly to the roof and cooler. No air should leak out.
- Seal any gaps around the pipe hole. This stops water and air from getting in.
3. Cooler Placement and Electrical Connection:
- Put the cooler on the roof in a safe place. Put it on brackets or a stand. Be careful when you lift it up.
- Connect the cooler’s duct to the ductwork you installed before.
- Be safe when working with electricity. Connect the cooler’s wires to a breaker in your home’s electric panel. Use a breaker just for the cooler.
4. Water Supply Connection:
- Find where the cooler connects to the water.
- Use a hose that the manual says fits (get that hose size). Connect this hose from the cooler to the cold water tap or special water line.
- Check that all connections are tight and not leaking.
5. Control Panel and Thermostat Installation:
- Find a good place on your wall for the control panel. It should be near the cool air inlet. This location makes sense.
- Mount the control panel securely on the wall. Follow the instructions carefully from the manufacturer. Do it the right way.
- Connect the control panel wires to the cooler terminals. Use low-voltage wires for this. Check the manual wiring diagrams so you get it right.
- Install the thermostat properly too. Read the manufacturer’s guide. It will control the cooler’s temperature as you set it. Easy.
6. Filling the Water Reservoir and Testing:
- Turn the valve to let water into the cooler’s tank. Follow how much water the maker says to put in.
- Look at the level of water. Don’t fill it too full.
- Switch on the power for the cooler. Change the settings on the control panel how you want.
- Listen carefully. Does it make any weird noises or shakes? The cooler should work smoothly and blow air steadily.
- Feel if cool air is spreading all through your home. It might take a while for the cooler to get as cold as it can.
7. Maintenance Tips:
- Frequently look at how much water is in the reservoir. Add more water when needed.
- Change the cooling pads sometimes, as instructed by the manufacturer. Dirty or blocked pads won’t cool air well.
- Clean the fan blades and inside of the cooler. Remove any dust or debris that could stop air from flowing properly.
- When not using the cooler, empty the water reservoir. Clean the cooler thoroughly. Cover it with a tarp that lets air through to protect it.
Here’s an In-depth guide: Preventive Evaporative Cooler Maintenance Checklist.
While a swamp cooler installation guide can empower you to tackle the project yourself, there are several compelling reasons to consider professional installation:
Reasons to Consider Professional Swamp Cooler Installation
- Expert and Secure Setup: Skilled workers have the know-how to install a swamp cooler. They follow building rules and electric safety laws.
- Technical Understanding: They know about challenges like complex ductwork setups. They can find and fix electric issues too.
- Warranty Protection Guaranteed: Incorrect installation can make the warranty invalid. Professional installation comes with a workmanship guarantee. This gives peace of mind.
- Efficient Use of Time: For those short on time or DIY skills, professional installation is faster. The job gets done efficiently without delays.
Professional Swamp Cooler Installation Services
You must decide whether to install a swamp cooler yourself or hire a professional. This depends on how comfortable you feel, your technical skills, and how complex the cooler and location are.
Conclusion
Swamp coolers are an affordable and eco-friendly way to stay cool in dry, hot summers. Whether you’re a seasoned DIY enthusiast or a first-time installer, this swamp cooler installation guide shares the necessary steps and tips to ensure a successful installation.
FAQs
How to install swamp cooler on roof?
- Choose a suitable location on the roof near a water source and electrical outlet.
- Securely attach mounting brackets to the roof surface, ensuring they are level and spaced according to manufacturer instructions.
- Lift the swamp cooler onto the roof and position it onto the mounting brackets securely.
- Connect ductwork to link the swamp cooler to the vents.
- Connect the water supply line, incorporating a float valve to regulate water levels, and then connect the electrical wiring, ensuring proper grounding and adherence to building codes. Test the system thoroughly before sealing everything in place.

